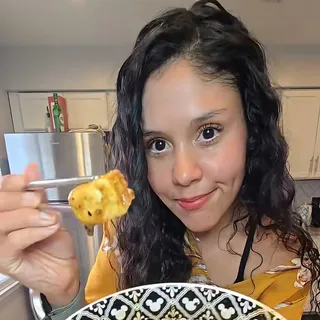
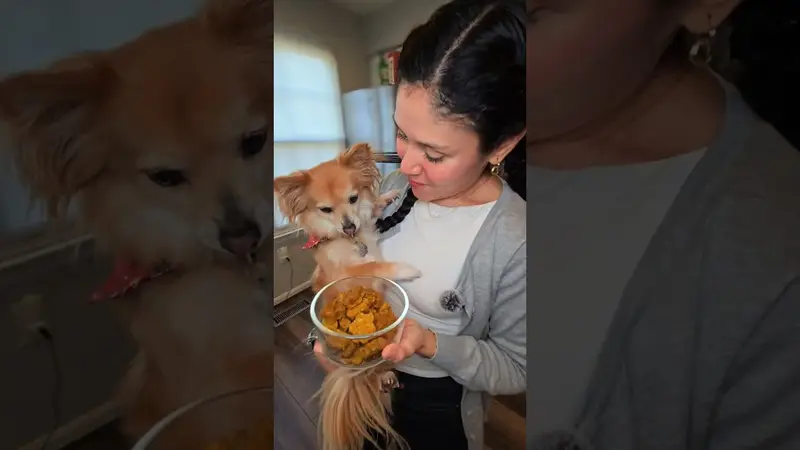
Today we're making something special for the best friends in our lives—our dogs! Rex is about to be one very happy pup with these super simple, all-natural dog treats that come together with just three wholesome ingredients: oats, peanut butter, and pumpkin. The best part? They're ready in under 40 minutes from start to finish, and your dog will absolutely love them.
I created this recipe for my pup Rex, and watching him try them for the first time was pure joy. These treats have a Play-Doh-like consistency before baking, which makes them perfect for pressing into cute molds—think paw prints, bones, or any fun shape you can find. Everything is pre-measured like a cooking show (which never happens in my kitchen!), and they come together really quickly.
Here's something important to note: these treats are also completely safe for humans to eat! They're basically oatmeal, pumpkin, and peanut butter baked together, so if you want to make a human-friendly version, just add a couple tablespoons of maple syrup to the mixture. Your dog doesn't need the added sweetness, but we humans might appreciate it. I've been known to snack on the maple syrup version myself. And remember—everything in moderation, even for Rex!
What I love most about these treats is how much control you have over what goes into your dog's body. Store-bought treats often contain preservatives, fillers, and ingredients you can't even pronounce. With this recipe, you know exactly what's in every single treat, and you can feel good about giving them to your best friend.
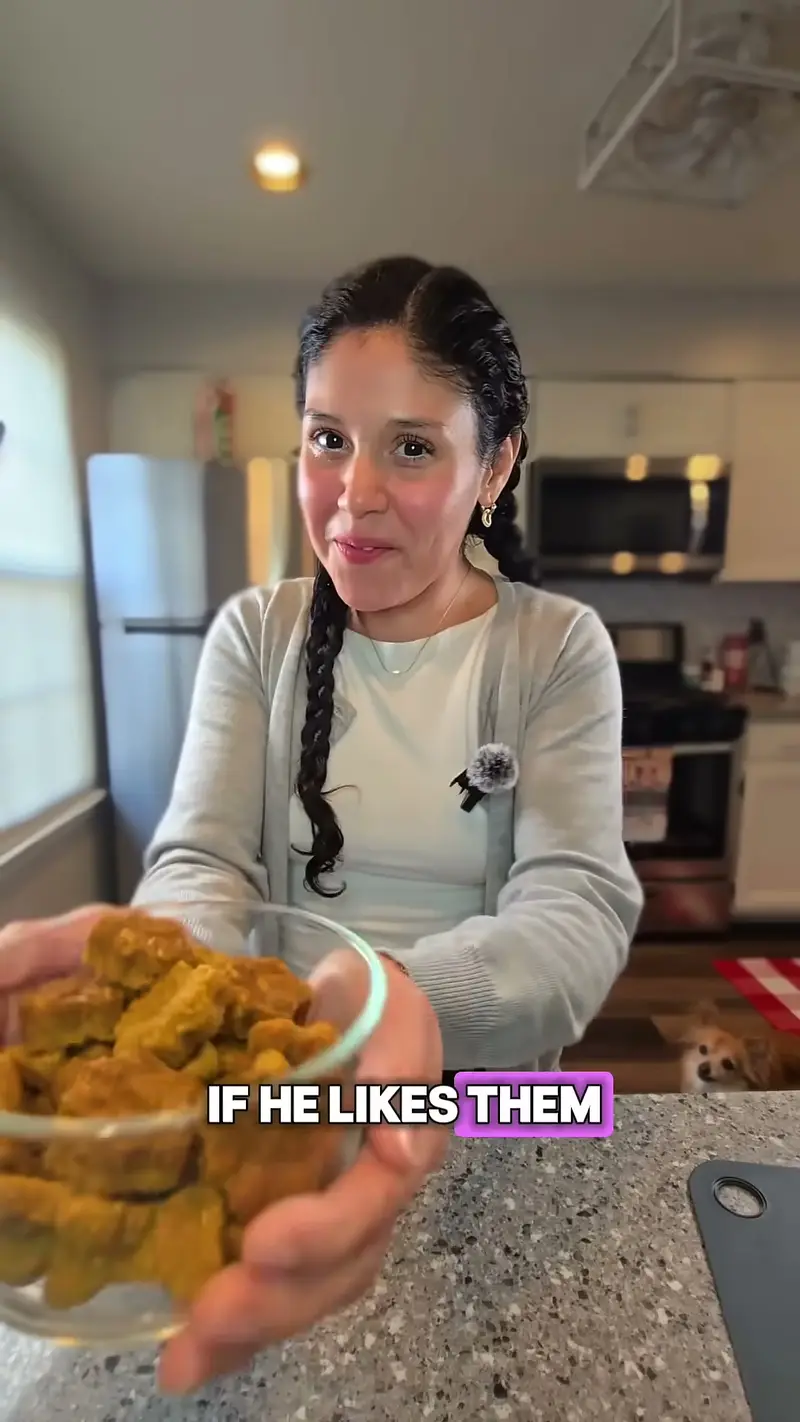
About the ingredients
Let's start with rolled oats, which are the base of these treats. One cup is all you need. Oats are gentle on dog digestion, provide fiber, and are completely safe for dogs to eat. They'll get processed into smaller pieces when you blend everything together, creating that perfect moldable texture. I love using oats because they're a whole grain that provides sustained energy for active dogs.
Next up is pumpkin puree—you'll use a quarter cup. Make sure you're using 100% pure pumpkin puree, NOT pumpkin pie filling which contains added sugar and spices that aren't necessary for dogs. Plain pumpkin is great for dog digestion, adds natural moisture and sweetness, and dogs generally love the flavor. I've found that pumpkin also helps with digestive regularity, which is always a plus.
And finally, peanut butter—this is where you need to be careful. Use one-third cup of CREAMY peanut butter, and this is absolutely critical: check the ingredients label and make sure the ONLY ingredient is peanuts. No salt, no sugar, and especially NO XYLITOL. Xylitol is a common sweetener found in some peanut butters, and it's extremely toxic to dogs. Brands like Jif, Skippy, and most natural peanut butters that list only peanuts are safe. When in doubt, read that label! I cannot stress this enough—xylitol toxicity in dogs is serious and can be fatal.
The beauty of this recipe is its simplicity. Three ingredients that you probably already have in your pantry, and you can whip up a batch whenever you're running low on treats. I typically make these every two weeks, and Rex gets so excited when he sees me pulling out the silicone molds.
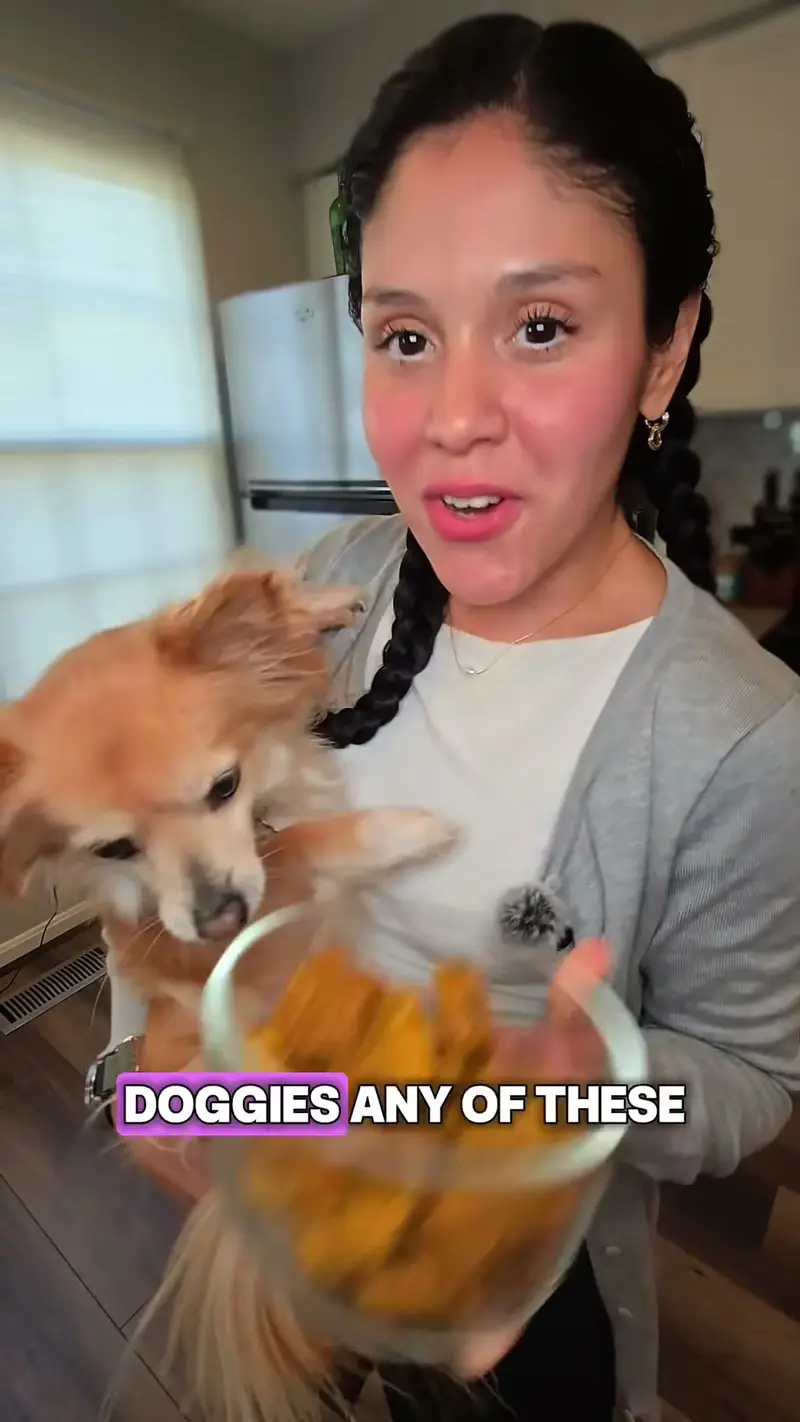
How I make it
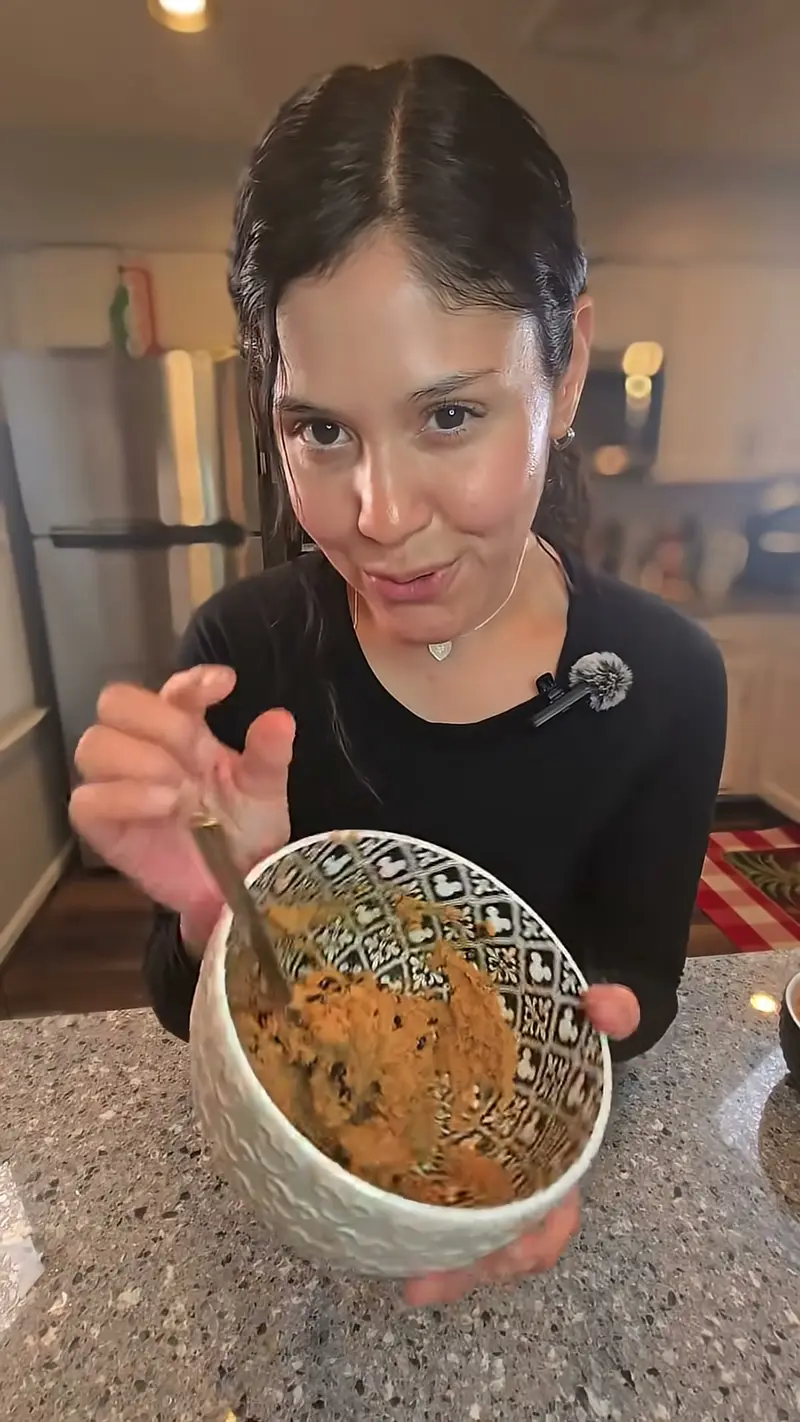
The process of making these treats is wonderfully straightforward and takes minimal effort. You'll start by preheating your oven to 300°F—this lower temperature ensures the treats bake through evenly without burning on the outside. While the oven heats, you'll combine your three ingredients in a food processor or blender and pulse everything together until it forms a cohesive, Play-Doh-like mixture.
The consistency check is important here. You want the mixture to be moldable and hold its shape when pressed into molds, but not so dry that it's crumbly or so wet that it won't hold together. If you need to adjust, add water by the teaspoon if it's too dry, or a few more oats if it's too wet. I've made these enough times that I can usually tell by feel when the consistency is just right.
Once your mixture is ready, you'll press it firmly into silicone molds. I love using paw print and bone-shaped molds because they're adorable, but any shape works. The key is to press the mixture in firmly so there are no air pockets—this ensures the treats hold together during baking. After baking for 25-30 minutes, you'll let them cool completely before giving them to your pup. This cooling step is crucial because hot treats can burn your dog's mouth.
The whole process from start to finish takes about 40 minutes, and most of that is hands-off baking time. I often make these while I'm doing other kitchen tasks or meal prep, and it feels efficient to have something productive baking in the oven. Rex has learned to recognize the smell of these treats baking, and he camps out in the kitchen waiting for them to be ready.
Tips from my kitchen
- CRITICAL: Check peanut butter ingredients carefully—it should only contain peanuts, NO xylitol which is toxic to dogs
- I use silicone molds for easy removal and cute shapes that make treat time even more fun
- The mixture should be like Play-Doh—moldable and slightly sticky but not too wet
- Store at room temperature for up to a week, refrigerate for up to 2 weeks, or freeze for longer
- These are treats, not meals—everything in moderation for your furry friend
- Make a batch for fellow dog parent friends as DIY gifts they'll appreciate
- For the human version, I add 2 tablespoons of maple syrup to the mixture before baking
- If your dog has allergies, you can substitute sunflower seed butter for peanut butter
Made it? Tell me how it went